a-TroniX logo
a-TroniX logo
Accessories
AppCertificates
Configuration from A to Z
1. Link to your account2. Accessing commissioning interface3. Grid limits4. Location / address5. Add grid energy meter6. Add other devices7. Grouping devices
8 Local Control Modes
9. PV panel configuration10. External control signals
11 Extra Information
Control response timeController
Customer Specific
Devices
External Signals
InstallationLicenseNetworkQuick StartSafety, maintenance and legal noticesSpecificationsStatus LEDs
Troubleshooting
Wiring & connectivity guidelines
Configuration from A to Z

Link the a-TroniX Controller to your account

  1. Log in to the app (smartphone) or a-TroniX app (computer).

  2. Set the view to 'a-TroniX'.

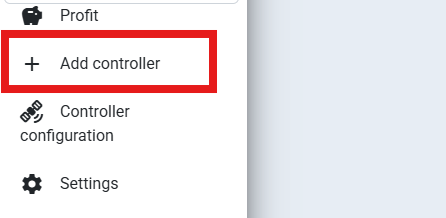
  3. Click on 'Add controller'.

Image 1
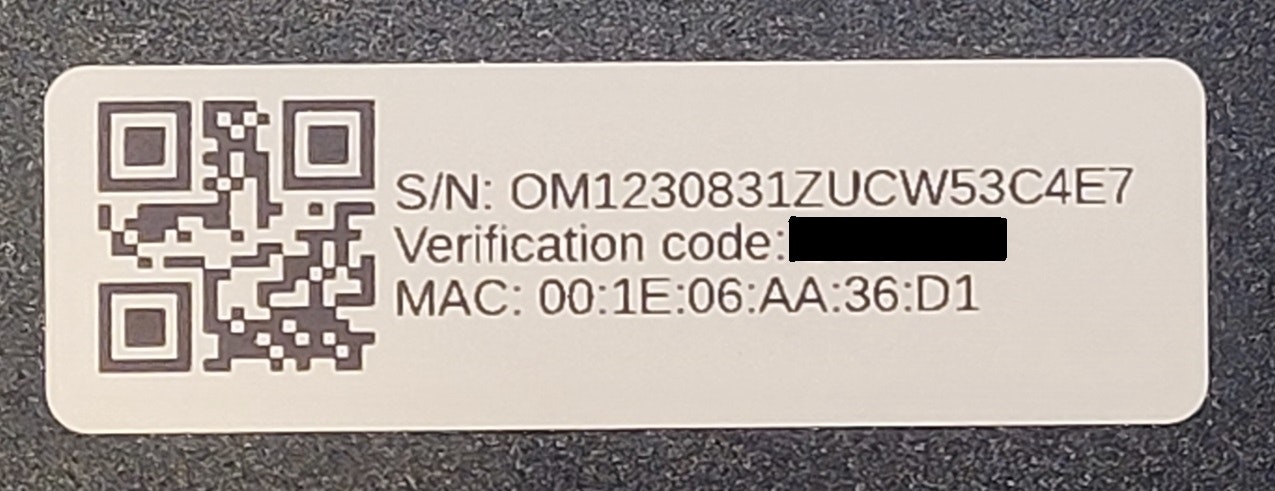
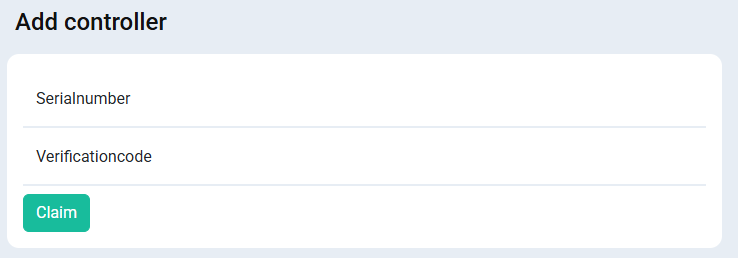
  1. Fill in the serial number and verification code. You can find these on the label of the a-TroniX Controller. Click 'Claim'.
Image 1
Image 1
  1. The a-TroniX Controller is now linked to your account! You can now access the commissioning interface from the portal, or give access to the end user.
Last updated February 16, 2026Edit this page

Configuration From A To Z

Previous Page

2. Accessing commissioning interface

Next Page

On this page

Link the a-TroniX Controller to your account